How to renovate your leather sofa?
Renovating a sofa to make it last
The complete renovation of a leather sofa considerably increases its lifespan. It's also a way of looking after your leather furnishings and restoring them to their original beauty.
In this article, we'll explain step-by-step how to renovate your leather sofa and armchair.
All the necessary products are available at the end of the article. Sofa care and renovation products can be used on aniline and pigmented leathers.
Tip 1: Prepare and clean your leather sofa
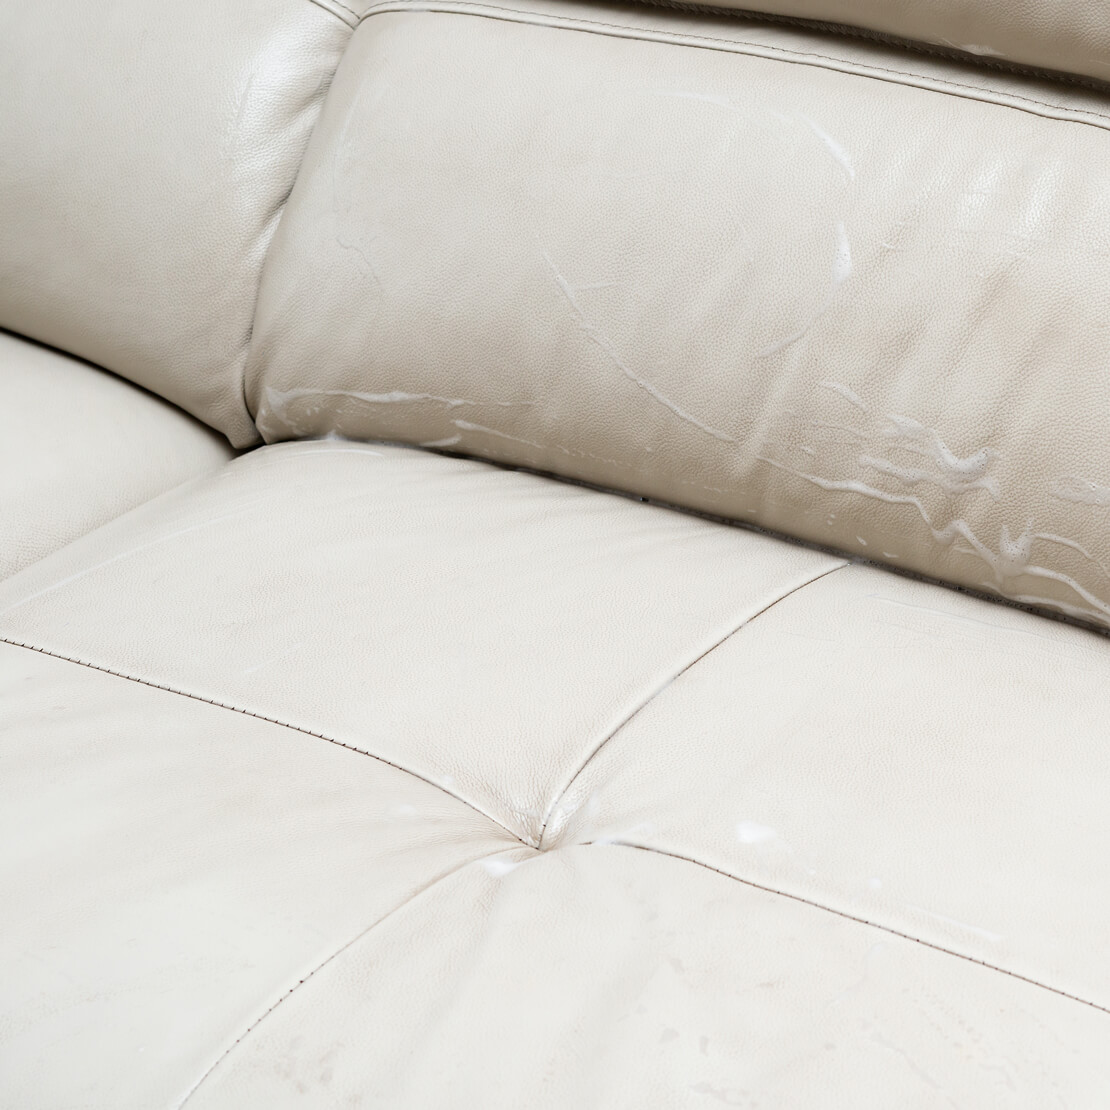
Before renovating a leather sofa, we recommend a thorough cleaning of the entire area to be treated. Deep cleaning removes all dust and dirt from the sofa. The subsequent renovation will be simpler and you'll get a better result with a clean leather sofa.
To clean your leather sofa, we recommend that you start by dusting your sofa.
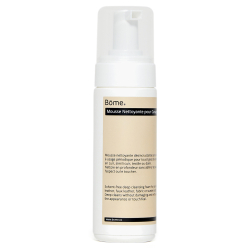
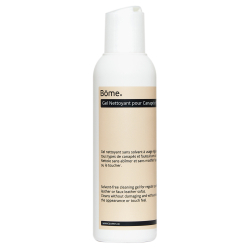
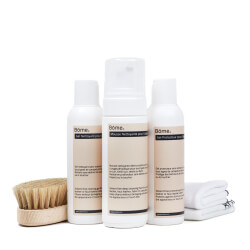
For cleaning, you can use the cleaning products in our complete sofa maintenance kit. We recommend that you use a cleaning gel or cleaning foam all over your leather sofa.
To clean your sofa, please consult our cleaning guide.
Tip 2: Renovate your leather sofa
With a clean sofa, you can start renovating your leather sofa. We recommend that you use appropriate products specifically for renovating a leather sofa. Other multi-purpose products run the risk of transferring colour from the seat to your clothes.
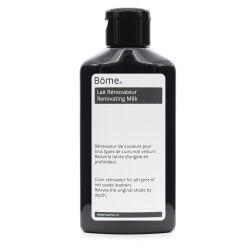
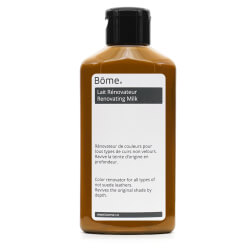
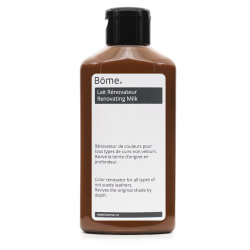
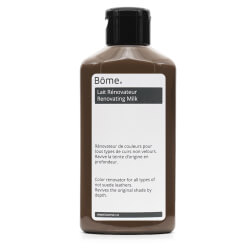
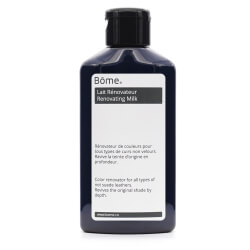
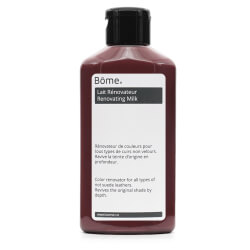
This is why we have developed specific products: Bōme renovation milk. We offer a range of 13 different colours to suit most leather sofas and armchairs.
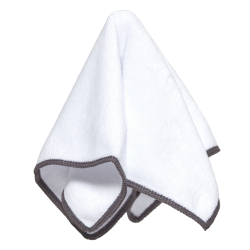
To renovate your sofa, you'll need a Bōme coloured renovation milk and a chamois cloth. Shake the bottle vigorously to mix any pigments that may have remained at the bottom of the tube.
After shaking, pour a dab of product onto your clean chamois. Apply the dab of product to the area to be treated, using circular movements. By applying it in this way, you'll get an even result that won't stand out from untreated areas.
Repeat the operation on all the areas to be corrected. You can also apply a light coat all over your sofa for optimum results.
Tip 3: Protect your leather sofa
After applying the renovation milk, the renovation of your leather sofa is not yet completely finished. You've just repainted your sofa, but there's a risk of colour transfer. To avoid this, always apply the protective gel from the sofa care range. This step is crucial in achieving a leather sofa renovation that lasts over time.
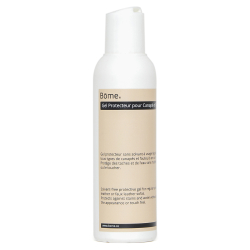
Bōme protective gel helps protect your sofa renovation. The gel leaves a protective film against external aggressions such as dust and dirt.
As well as protecting the leather renovation, it prevents colour transfer. When you apply the protective gel, you remove the excess renovation milk. The excess product is the remaining pigment not absorbed by the leather during renovation.
To apply the maintenance product, place the protective gel on a clean chamois. To remove the excess protective gel and pigments, we recommend that you use a clean part of the chamois. Use the clean part to wipe the area treated with the protective gel a little more.
This step is necessary to protect your sofas without altering their feel.
Conclusion
You've just carried out a complete renovation of your leather sofa in just a few steps. Leather renovation can be carried out using a complete maintenance kit and a renovation milk. This is how you create your own made-to-measure renovation kit.
Thanks to the products presented, you can create your own made-to-measure renovation kit. The perfect renovation kit for the specific needs of your leather sofa.
Leather renovation allows you to give your sofa a new lease of life. By renovating leather, you also restore its beauty and preserve its durability for many years to come.
By looking after your leather furniture, you can continue to enjoy its elegance and comfort. It's a technique that saves you the expense of replacing your leather sofa prematurely.

