Suede Shoe Care
Note that genuine suede is no longer used for making shoes. The term “suede” refers to either calfskin for which the flesh side is used, or nubuck, which is leather that has had its surface roughened with sand paper or a millstone. This lesson applied to both types of suede.
Contrary to popular belief, suede is a very easy-to-maintain, tough material.
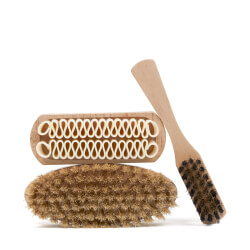
Step 1: dusting
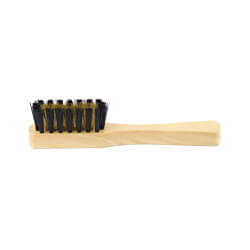
Brush your shoes with your shoe cleaning brush to remove any excess dirt. It is important to remove as much dirt as possible so that it does not becoming trapped in the suede during the next stages.
See the products used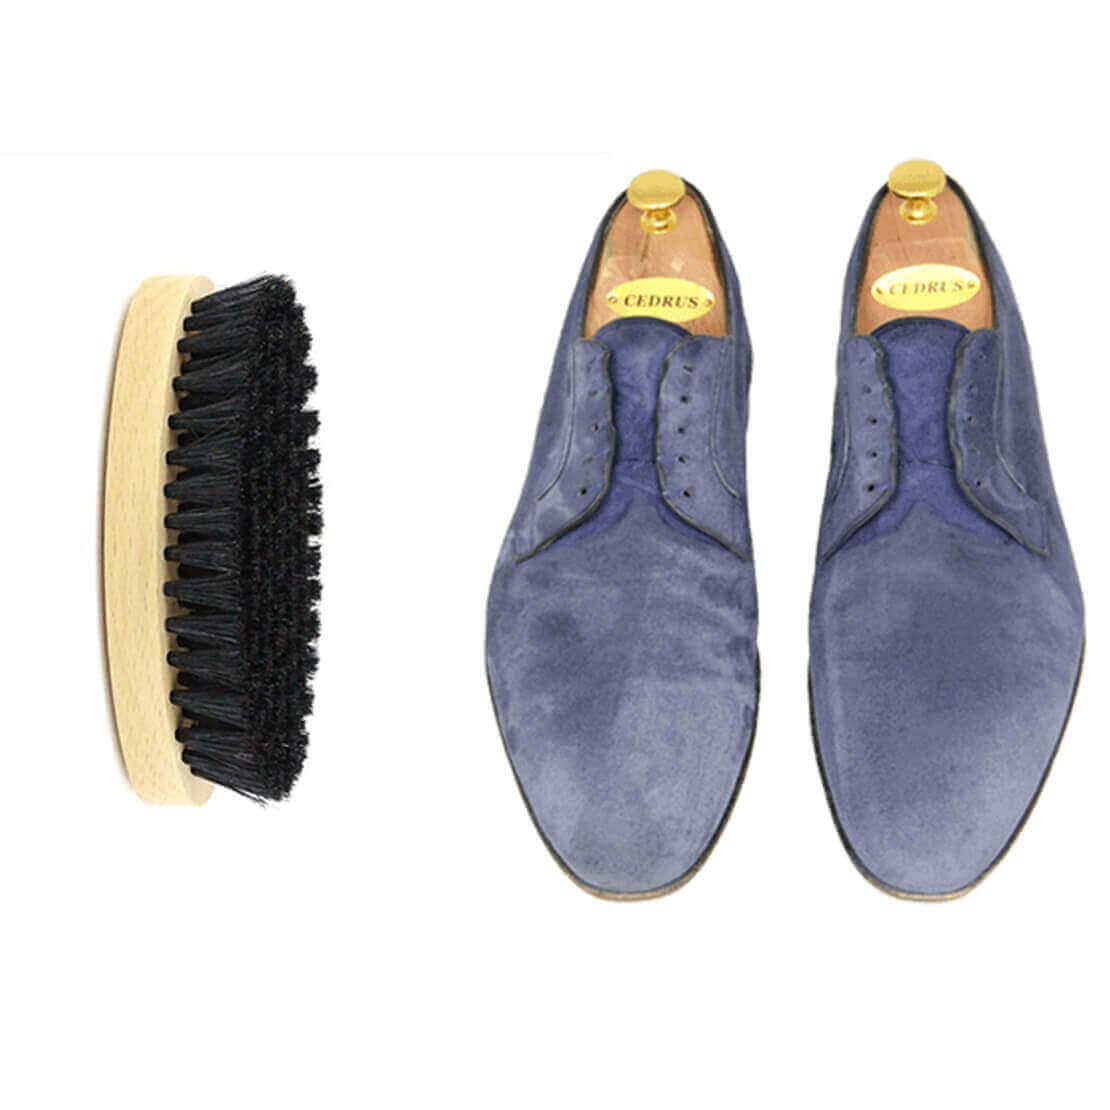
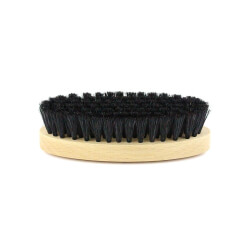
Step 2: dulling the suede
Over time, suede becomes shiny. Its nap flattens, smoothens out, and gets blackened. It is important to dull the suede before nourishing and protecting it. If not, your care products will not penetrate the suede and will not, therefore, protect its surface. To dull the suede, use a brass suede brush back and forth directly on the suede until the surface resembles the texture of peach skin. If the brass suede brush does is not enough, use a crepe suede brush or a suede rubber and apply more pressure.
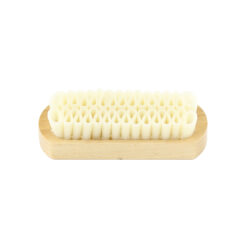
Suede brush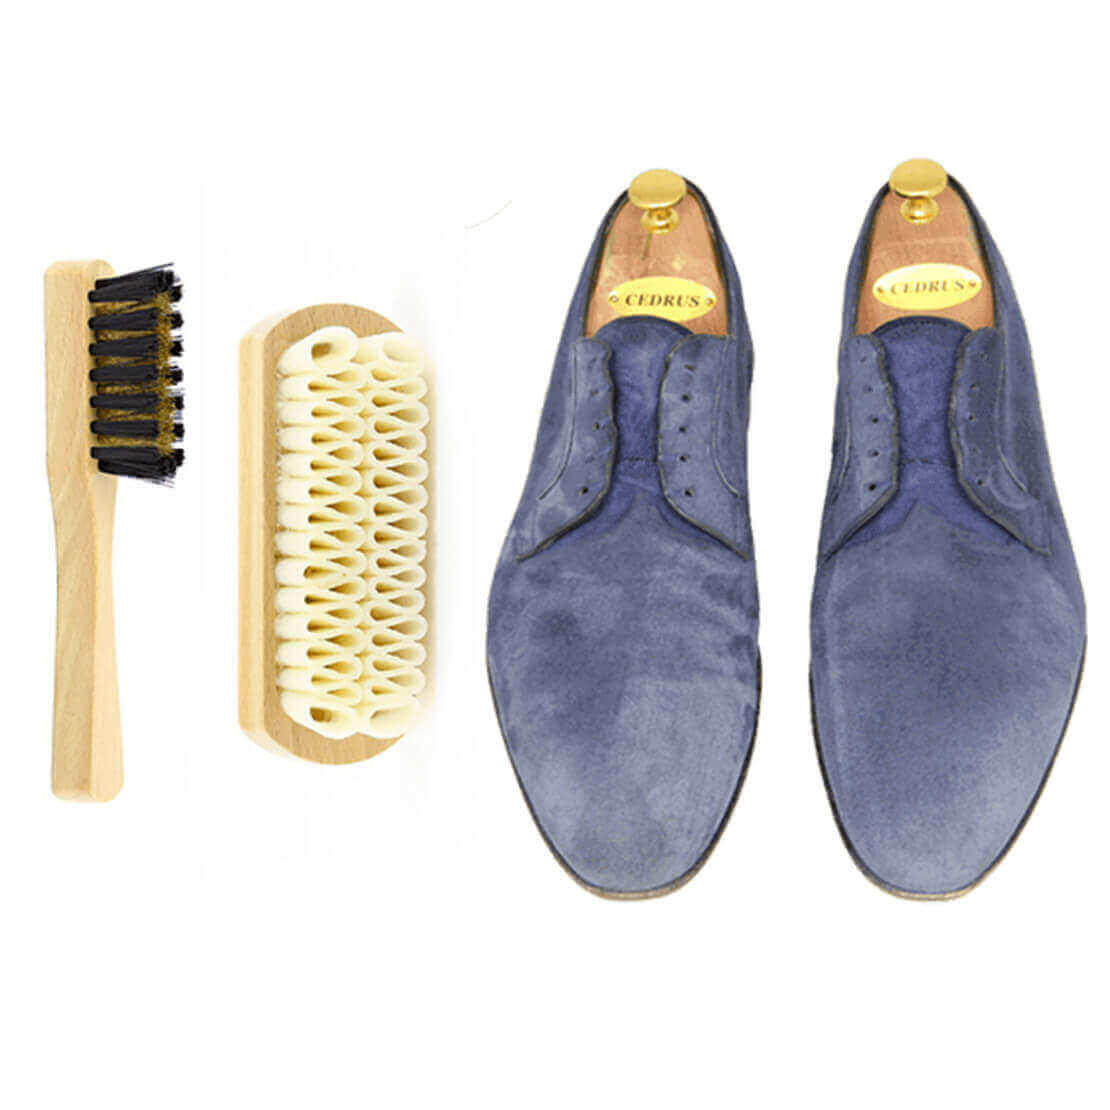
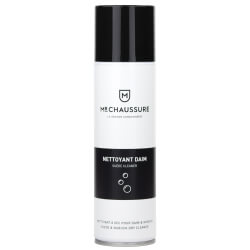
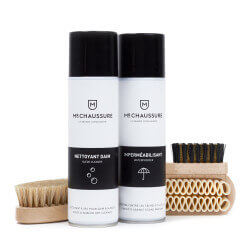
Step 3: cleaning the suede
Cover your work surface and spray the suede cleaner evenly at a distance of 30cm from the surface of the shoe. Brush the shoe immediately afterwards using your shoe cleaning brush. If your shoe sole is made of leather, consider polishing its edges including the heel (see the shoe polishing lesson). Allow your shoe to dry before moving on to the next step.
Suede cleaner
Step 4: Hydrating and recoloring the suede
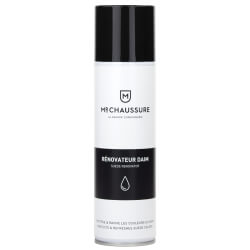
On your covered work surface, apply your suede renovator evenly at a distance of 30cm from the surface of the shoe. Allow to dry for around fifteen minutes, then brush the shoe, this time using your brass brush (special brush for suede) in both directions. This brush is specially designed for a perfect finish. Don't put the laces back on until the suede is really dry.
Suede renovator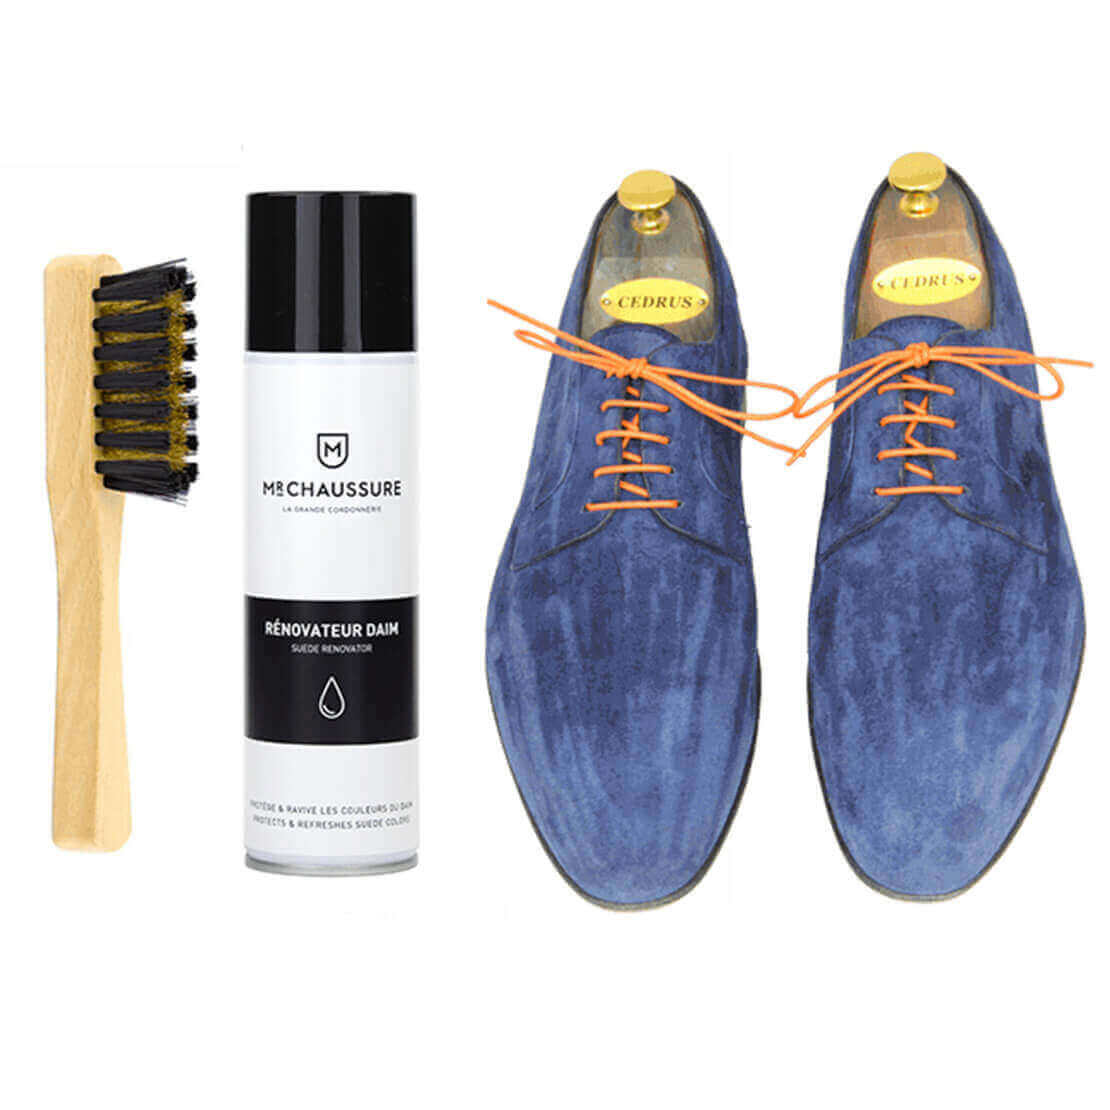
Step 5: Waterproofing the suede
Spray the waterproofing spray 20 to 30 cm evenly over the entire pair of suede shoes. The waterproofing spray leaves a protective film against rain and stubborn stains.
Leave the shoes to dry away from a source of heat.

Conclusion
Result on a pair of blue suede shoes: Before / After