Guide to repairing your leather car seat
Bring your leather seats back to life
Leather seats are very present in the automotive world. They add a touch of luxury and comfort to the interior of your vehicle.
As with shoes, it's possible to preserve their beauty and softness. Monsieur Chaussure has set up a weasel to help you maintain, renovate and repair your car's upholstery.
However, over time, wear and tear can occur, leaving your car leather seats in poor condition.
In this article, we'll give you a step-by-step guide to repairing your car leather seats. We'll discuss the use of "liquid leather" and other leather repair products available from Monsieur Chaussure.
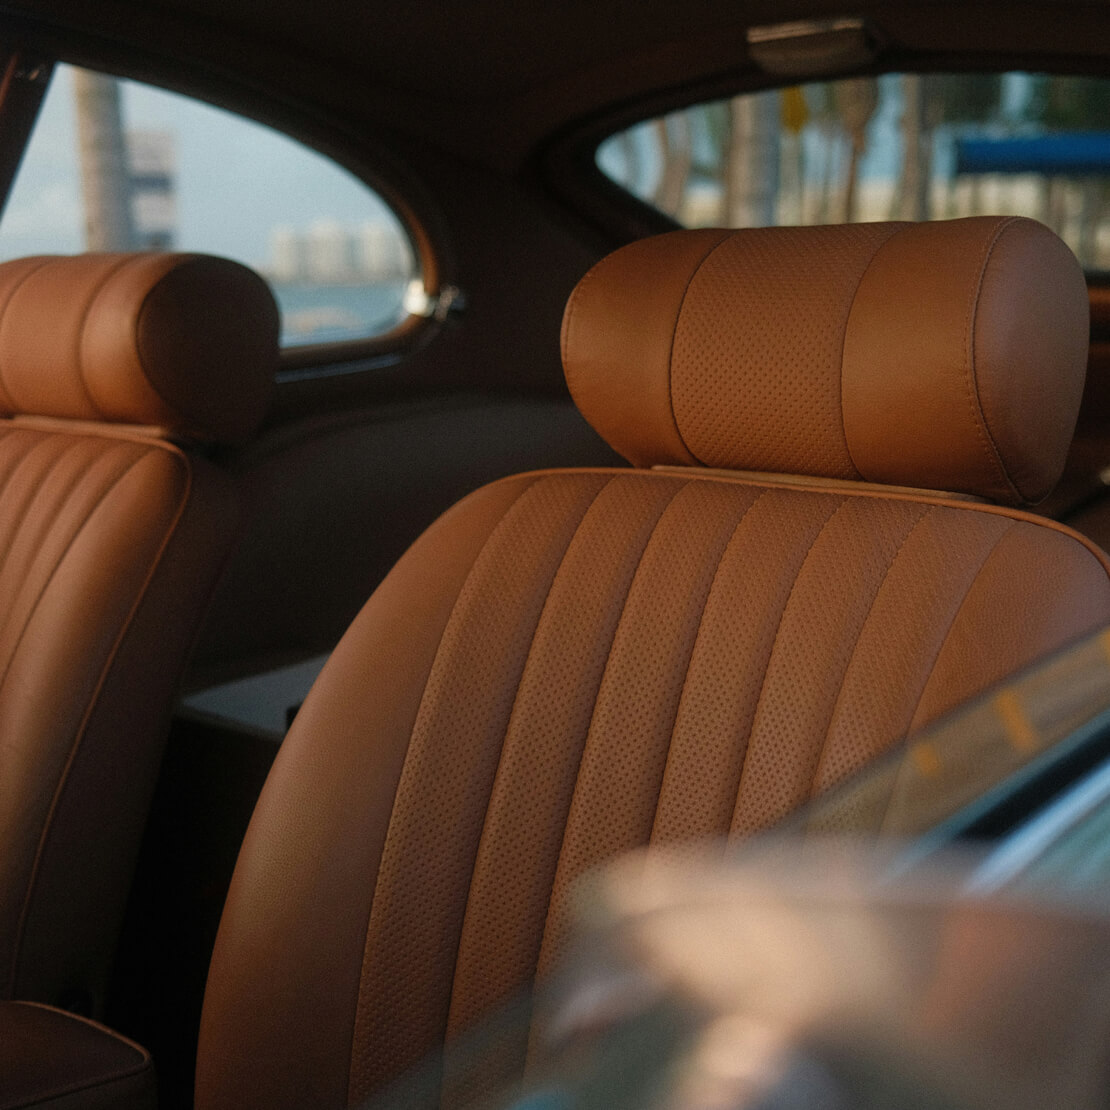
Step 1: Scratch assessment and repair
The first crucial step in the process of repairing your leather car seats is a careful assessment of the damage.
This is fundamental as it determines the most suitable repair method and products. When carrying out this assessment, it's important to look carefully at the seats to identify various common types of damage.
Among these, light tears, scratches and discoloured areas are the most common. Each of these types of damage requires special attention and specific treatment, which is why this initial step is so important.
By accurately identifying the nature and extent of the damage, you'll be able to select the most appropriate leather repair product. This will ensure effective and lasting restoration of your car seats.
Step 2: Repairing tears and scratches
The next stage in the restoration of your leather seats involves the meticulous repair of tears and scratches. This phase is essential to guarantee not only the aesthetics but also the longevity of your car seats.
To do this, we recommend using a specialised product, often called "liquid leather". Gently apply this product to the damaged area, using a spatula to ensure even, smooth distribution. It is crucial to ensure that the leather is perfectly stretched during application for optimum repair. Follow the instructions supplied with the product carefully to ensure a professional result.
On our website, you'll find detailed photos illustrating each stage of the process, guiding you towards a successful restoration. However, it is important to note that for extremely damaged seats, with major tears, it is advisable to consult a professional.
On the other hand, for lighter damage such as small tears or scratches, the use of liquid leather is an effective and affordable solution.
Step 3: Restoring the colour and finish
Once you've taken care of the tears and scratches on your car seats, the next step is to restore the leather to its original colour and finish.
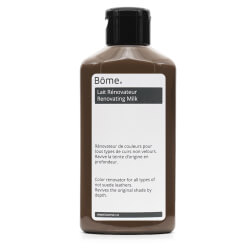
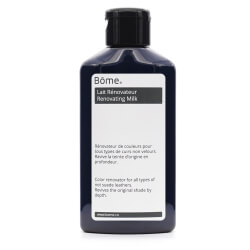
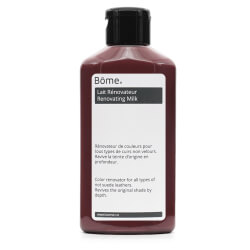
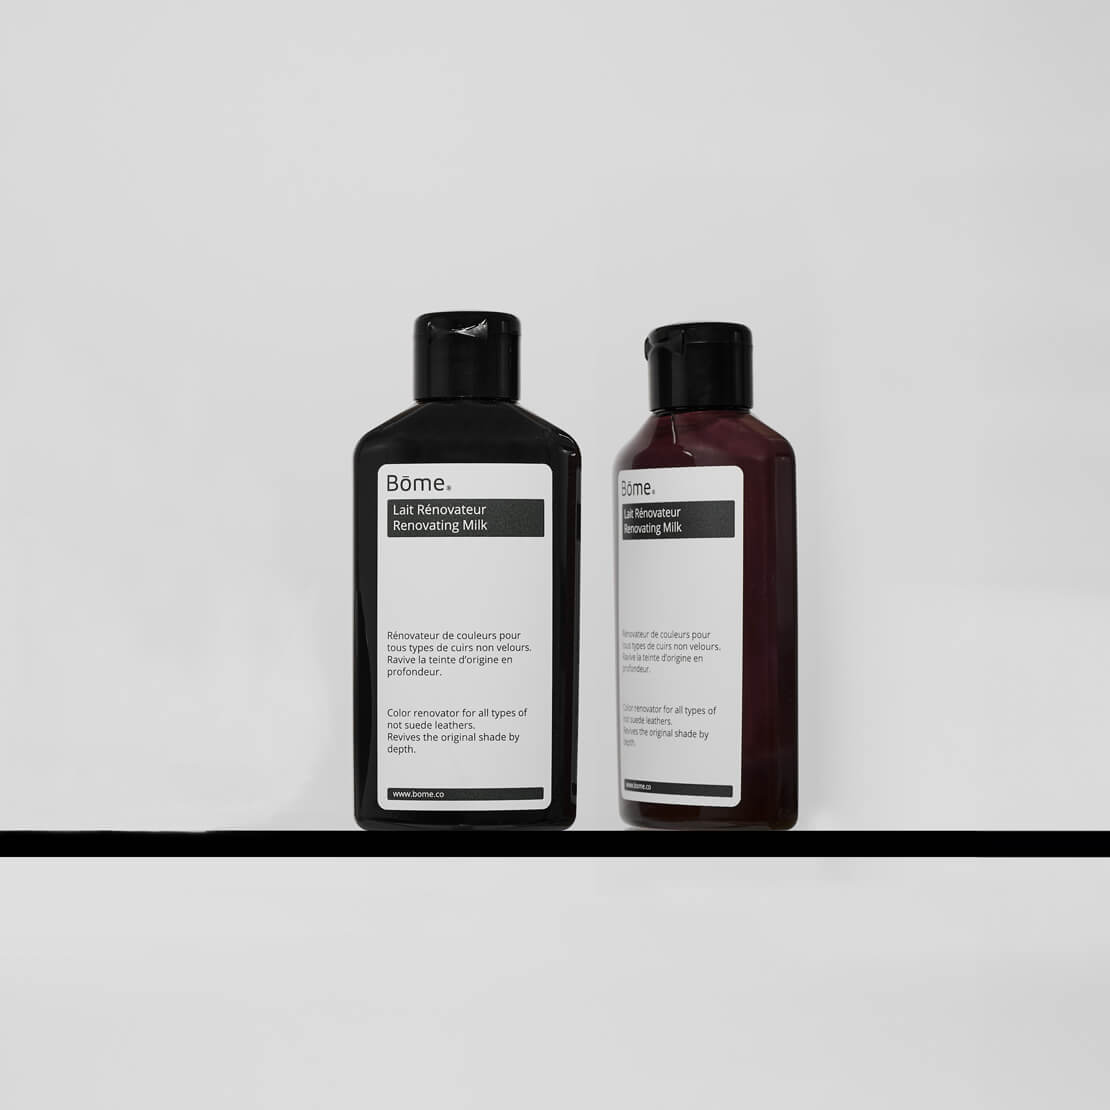
At Monsieur Chaussure, we recommend that you opt for specialised products with a proven track record in restoring car leather. The renovating milks available from us are particularly effective for harmonising the colour of your seats. Their strong pigmentation will restore your leather seats to their former glory. For optimum restoration, you should apply the Renovating Milks between cleaning and protection.
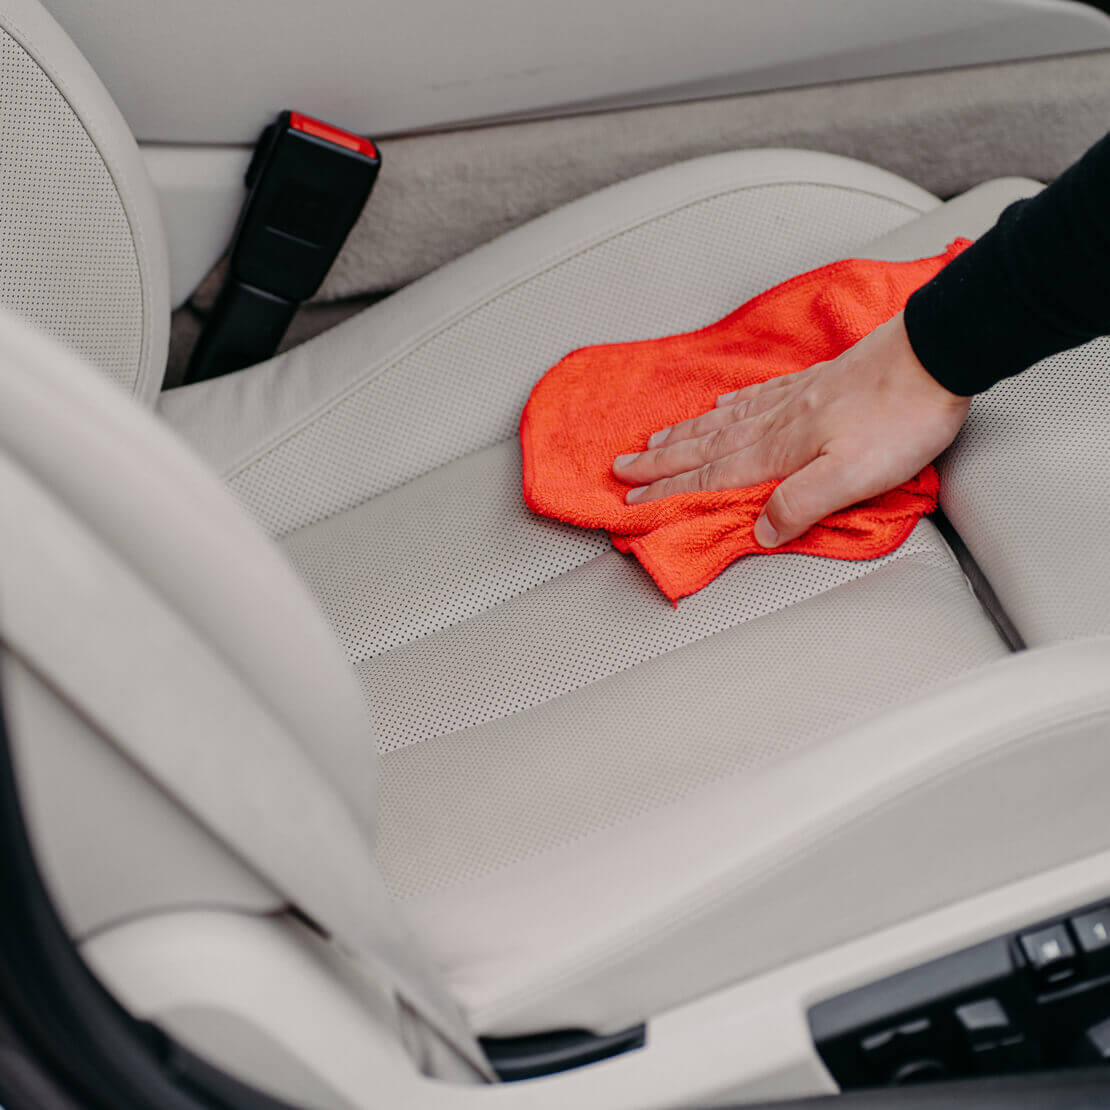
Our application tips for optimum results are as follows: apply a small amount of the product to a clean chamois. Massage the area to be coloured for a few minutes. The repaired leather will absorb the pigments.
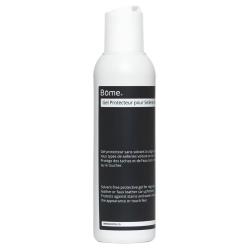
This will even out the area. Remove any excess that has not been absorbed by applying a protective gel. It removes excess product, moisturises the leather and protects the car upholstery at the same time.
Thanks to these tried-and-tested methods, you'll be able to enjoy revitalised car seats that not only look impeccable, but also offer long-lasting protection.
Visit Monsieur Chaussure to discover our selection of top-of-the-range products for preserving and restoring car leather.
Step 4: Regular maintenance to prolong the repair
Once the repair is complete, we invite you to prolong it with regular maintenance. Regular maintenance helps to preserve the beauty of the repair and the shine of the leather.
Regular maintenance is essential. To do this, you can carry out a maintenance routine once a month using the right products.
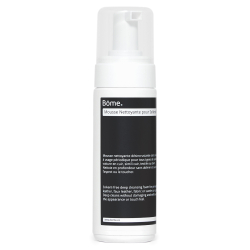
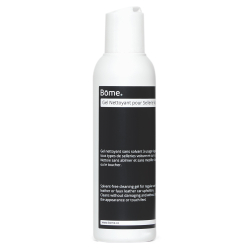
You should use solvent-free cleaning products to avoid altering the feel of the car upholstery. As well as not altering the touch, they preserve the colour. There is no risk of the cleaner removing the dye from your car upholstery.
We recommend continuing with the milk renovator to reinforce the colour at each service. This way, the repair will blend in more and more with the rest of the car seats. To finish and protect, we recommend applying a protective gel.
The protective gel deposits a colourless film on the leather of the car seats to protect them. It protects against dirt and other external aggressions.
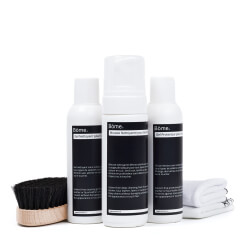
Each product listed is compatible with the others and is rinse-free to facilitate ongoing maintenance. We recommend following the steps in our routine for optimum results.
