Oiled Leather Care
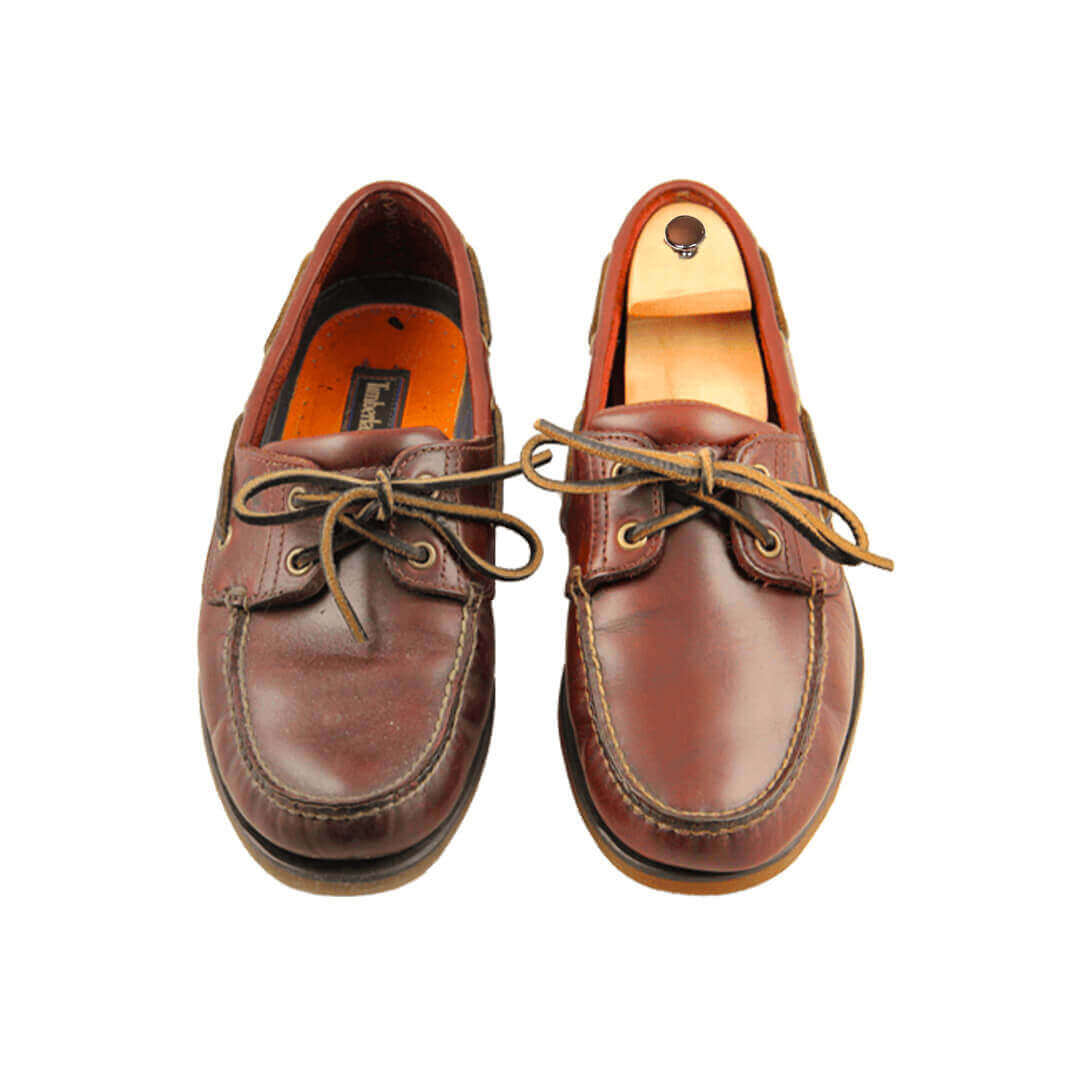
This leather can easily be recognised because it is oily to the touch. Note however that thick leather is not automatically oiled leather.
Although most of our shoemakers’ advice is related to oiled leather, it is the easiest type of leather to maintain.
This leather does not require much upkeep. One care treatment per month will suffice.
Step 1: Preparation
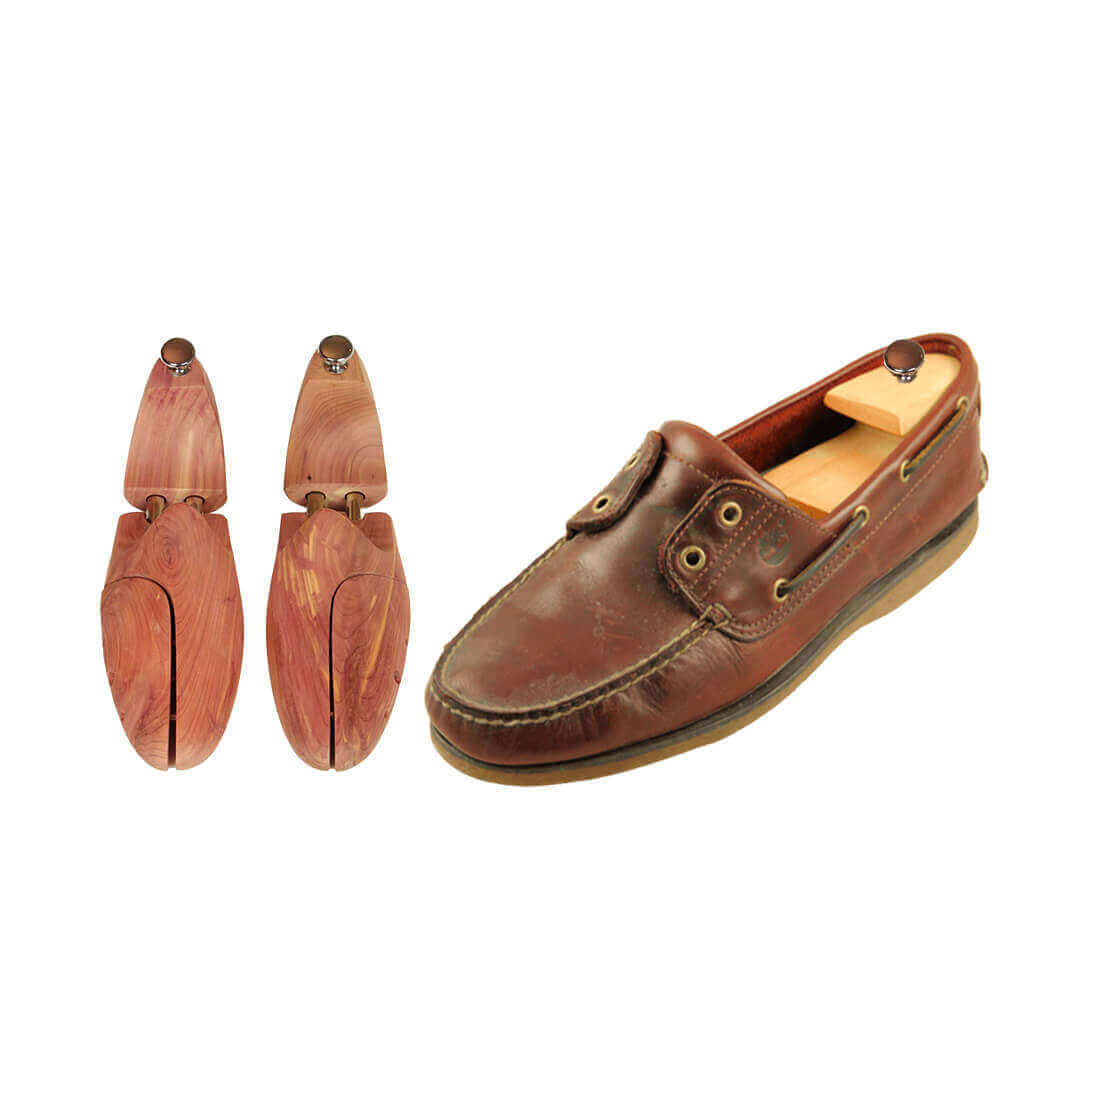
Remove the shoe laces to prevent them from becoming soiled, and plug the shoe eyelets.
Place your wooden shoe trees (or boot/ankle boot stretchers) into your shoes and stretch them.
Step 2: Dusting
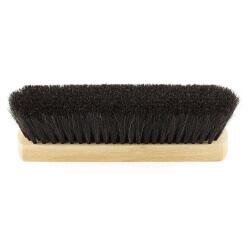
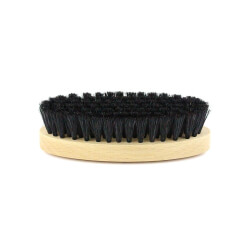
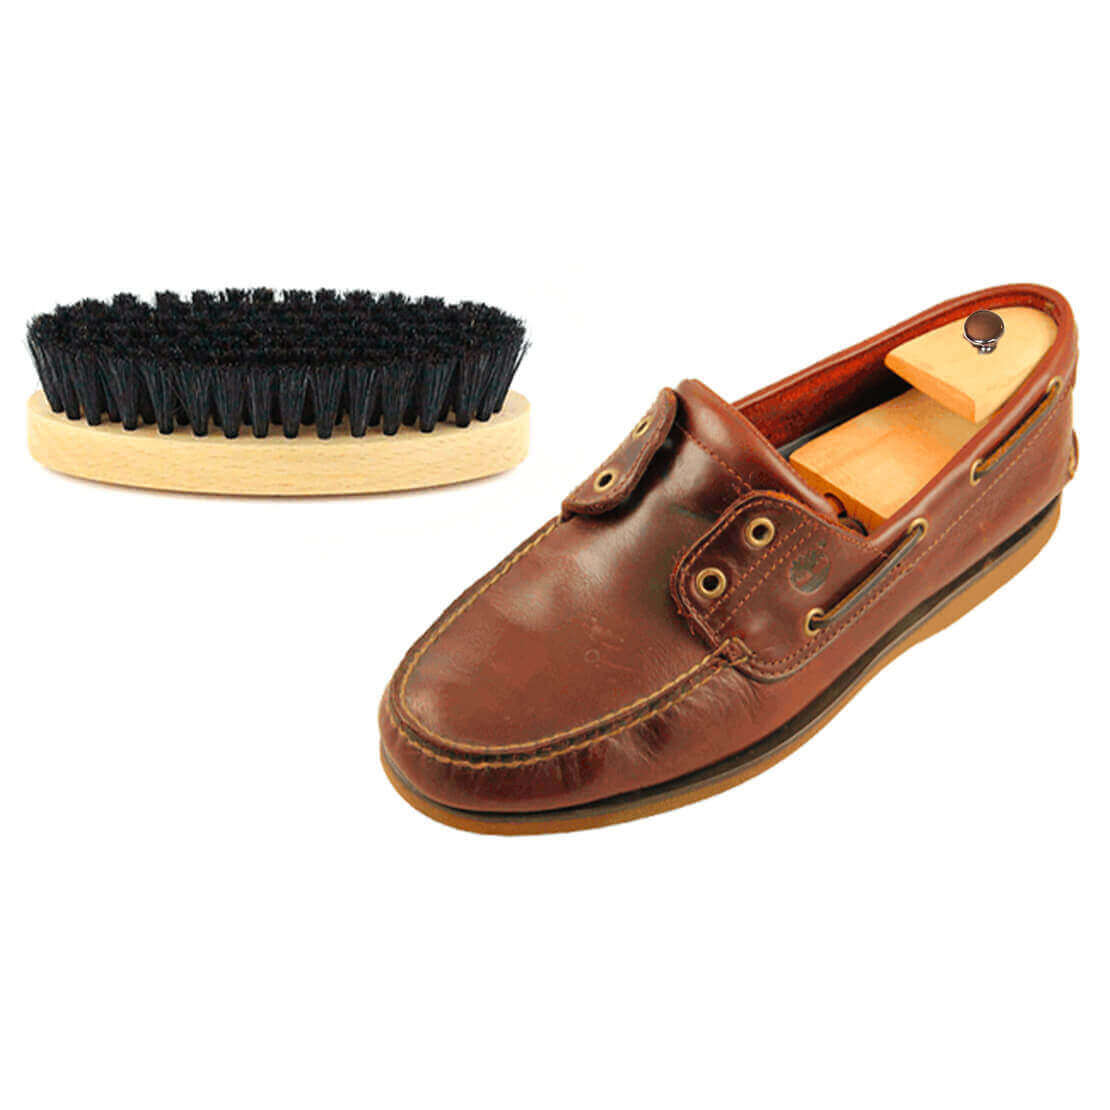
Vigorously brush your shoes with your shoe cleaning brush to remove any excess dirt. Pay particular attention to the wax stitching. The shoe cleaning brush is used solely for cleaning, never for polishing.
Before carrying out a general care treatment, it is essential to remove any dust to ensure that it does not get trapped into the leather. That would result in the opposite of the desired effect, which is to prolong the life of your shoes.
Step 3: Cleaning
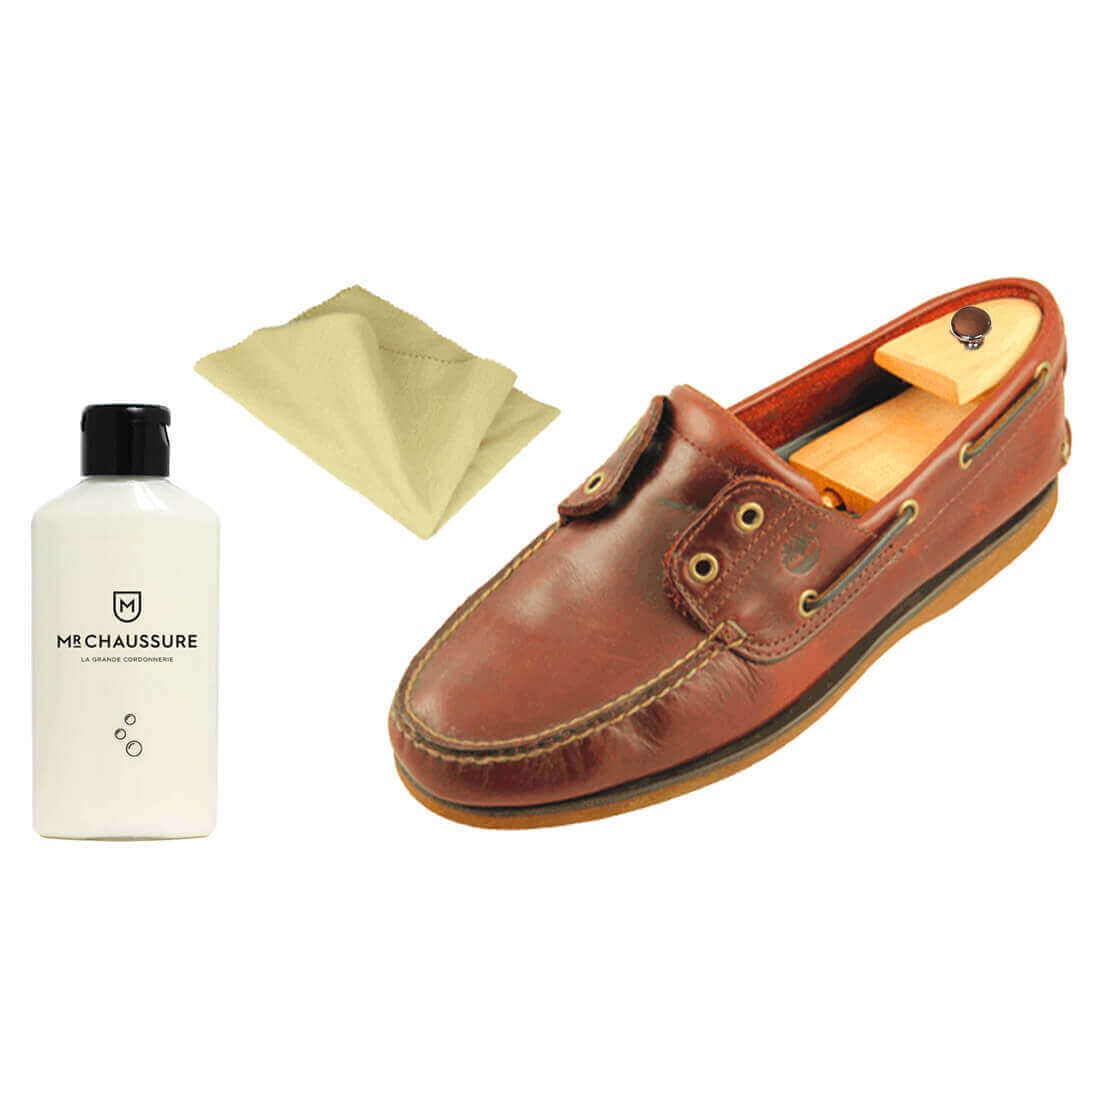
Wrap a polishing cloth around your index and middle fingers.
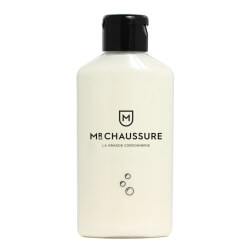
Dampen the polishing cloth with your Monsieur Chaussure leather cleaner and apply the product to the shoe using vigorous, circular strokes.
During this step you will be cleaning the shoe by removing any old shoe polish. Pay particular attention to any creased areas caused by walking. Using vigorous strokes in the direction of the length of the shoe will help you smoothen out any such creases. Do not neglect the edge of the (smooth) shoe sole and the heel.
This procedure allows the shoe to last longer and prevents cracking.
Step 4: Nourishing the wax stitching
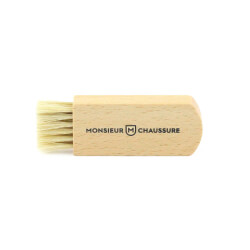
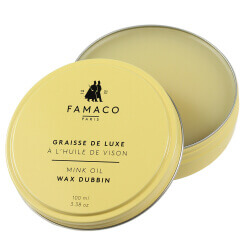
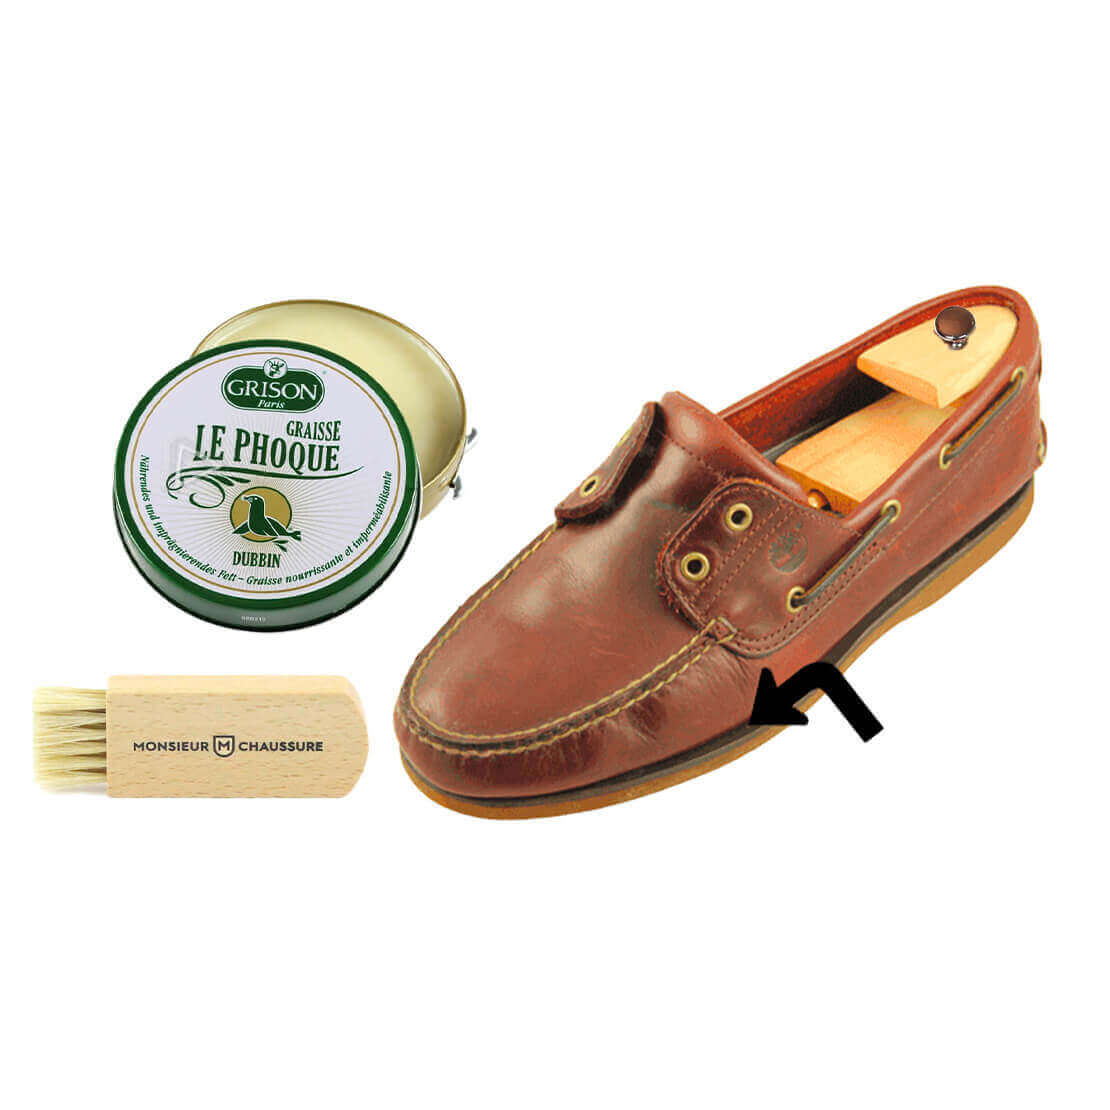
Dab your welt brush into the dubbin and apply the product generously to the welt edging to allow it to fully penetrate and nourish the wax stitching.
This nourishing step is very important since dried out stitching comes apart and could compromise the stability of the shoe sole.
Pay particular attention to the stitching around the tip of the shoe as this is the part that is most exposed to impact.
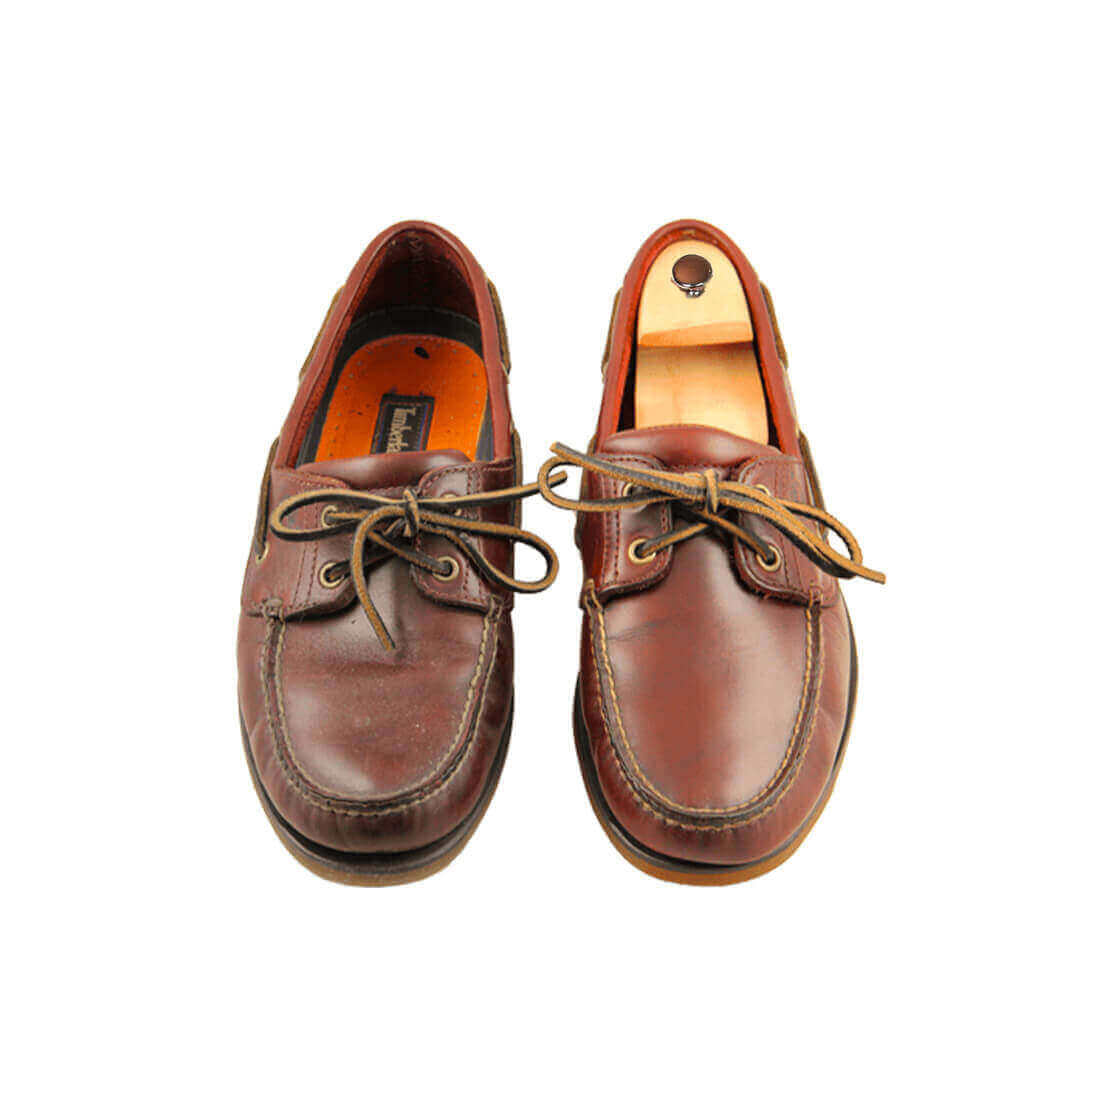
Note: The image displayed is only an example, as the shoe has no wax stitching.
Note: If your shoe has a wooden sole, consider applying a shoe polish to it occasionally.
Step 5: Nourishing and waterproofing the leather
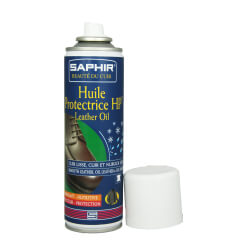
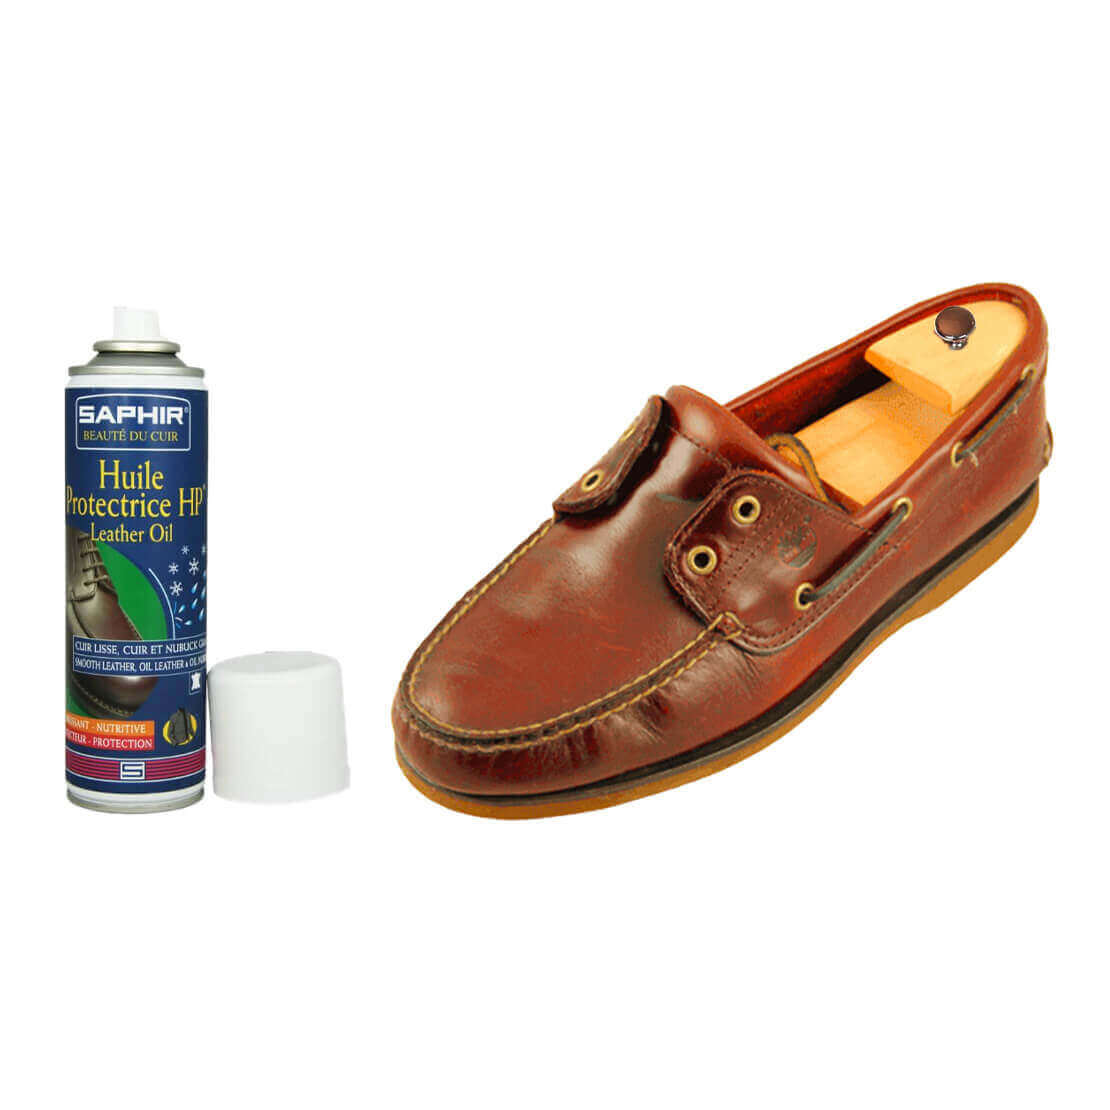
For this step, you can choose either the same dubbin used for the wax stitching, or an oil spray. We recommend the oil spray as it is less oily and works well on the leather without making it too soft.
If you choose to use the dubbin, use your shoe dauber to apply the product to your shoe. It is not necessary to use a large quantity of dubbin as this type of product is very effective in small quantities.
Keep in mind that dubbin tends to soften leather, and that excessive use can deteriorate the shape of your shoe.
If you choose to use the oil spray, simply spray the product at a distance of about 20cm from the surface of the shoe. Again, these products are highly effective and therefore do not need to be used in large quantities.
Allow to dry for about 1 hour.
Step 6: Satin shining
Using dubbin or an oil spray gives leather shoes a shiny finish. In most cases, oiled leather has a matte or a slightly satin-like shine. To restore this effect, brush the leather using a shoe shine brush and light, quick strokes to even out the finish and attenuate the shine.
See the products used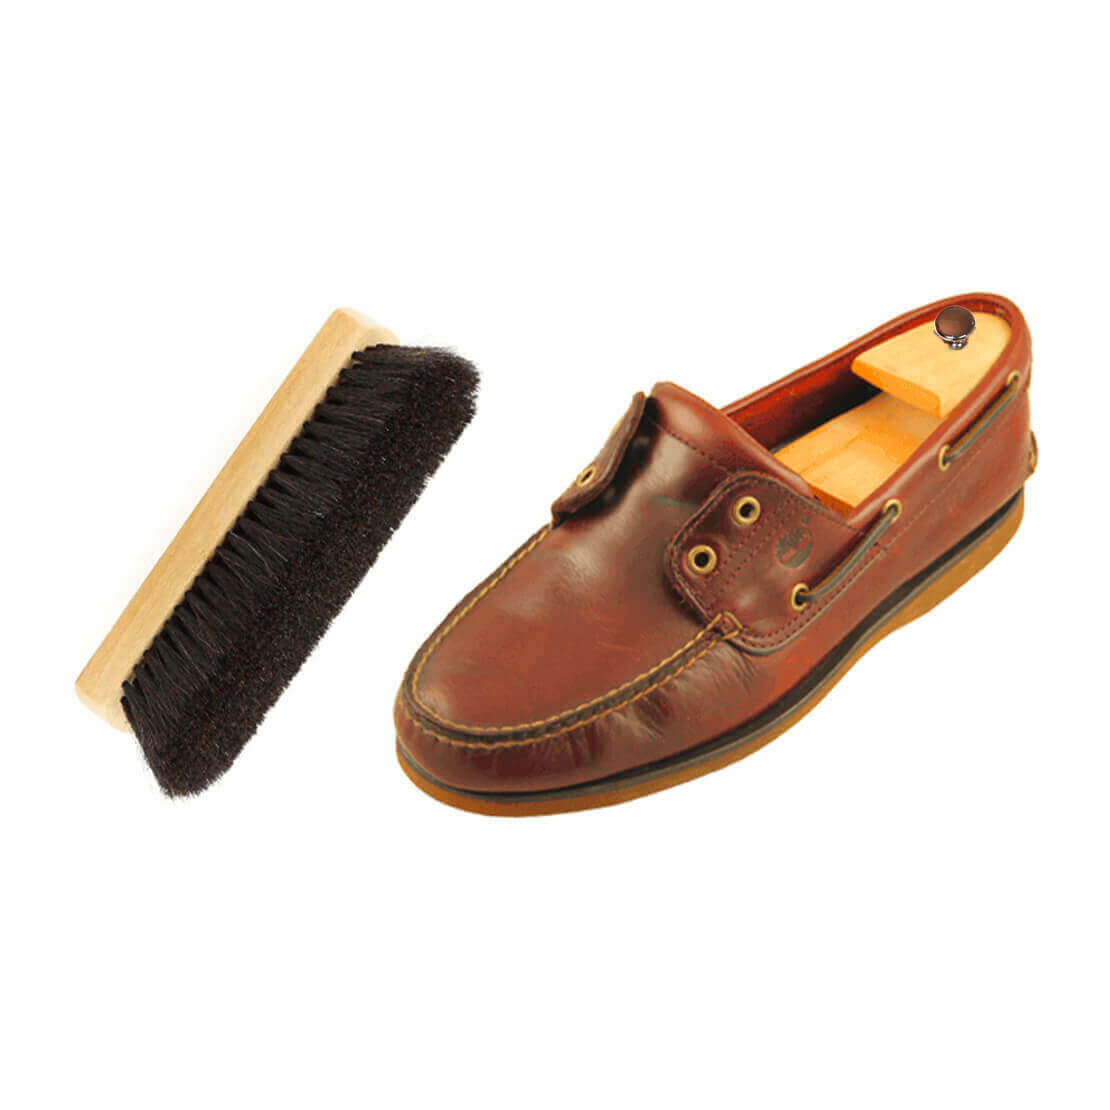
Conclusion
Result: Before / After
